Image Source: Unsplash
Cleaning painted walls
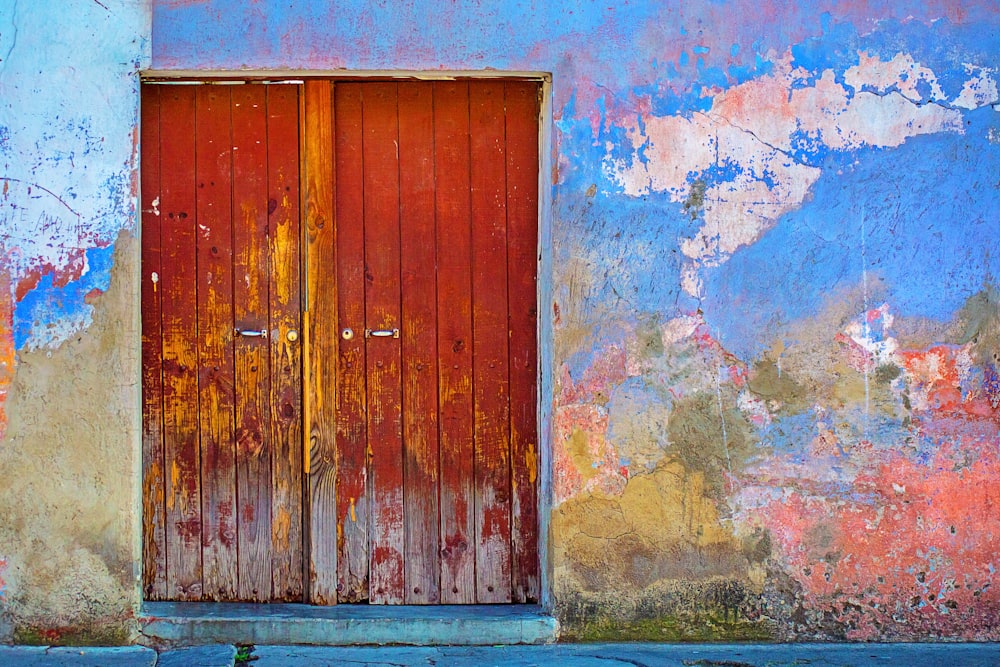
When it comes to maintaining the cleanliness and appearance of your home, one area that often gets overlooked is the walls. Over time, painted walls can accumulate dirt, dust, fingerprints, and other unsightly marks. Regularly cleaning your painted walls not only keeps them looking fresh, but it also helps to extend their lifespan. In this ultimate guide, I will share with you the best methods and techniques to clean painted walls like a pro.
Importance of regularly cleaning painted walls
Regularly cleaning your painted walls is essential for several reasons. First and foremost, it helps to maintain the aesthetic appeal of your home. Clean walls create a sense of freshness and brightness, making your living space more inviting. Additionally, removing dirt and dust from your walls can improve indoor air quality, especially for individuals with allergies or respiratory conditions.
Moreover, regularly cleaning your painted walls can help prevent the buildup of grime, which can lead to permanent stains and discoloration. By maintaining a regular cleaning routine, you can avoid the need for more extensive and expensive wall restoration in the future.
Tools and supplies needed for cleaning painted walls
Before you start cleaning your painted walls, it’s important to gather the necessary tools and supplies. Here’s a list of items you’ll need:
- Soft-bristle brush or broom: This will help you remove loose dust and cobwebs from the walls without causing any damage.
- Microfiber cloths or sponges: These are ideal for gentle cleaning of painted walls. They are absorbent and won’t leave behind any lint or residue.
- Mild detergent or wall cleaner: Look for a gentle, pH-neutral cleaner specifically designed for painted surfaces. Avoid using harsh chemicals or abrasive cleaners as they can damage the paint.
- Bucket of warm water: You’ll need this to mix the cleaning solution and rinse your cleaning cloth or sponge.
- Step ladder or stool: Depending on the height of your walls, you may need a step ladder or stool to reach higher areas.
- Protective gloves and goggles: It’s always a good idea to protect your hands and eyes when working with cleaning solutions.
Preparing the walls for cleaning
Before you start cleaning your painted walls, it’s important to prepare them properly. Start by removing any paintings, frames, or decorations from the walls. This will allow you to clean the entire surface without any obstructions. Next, use a soft-bristle brush or broom to gently remove any loose dust or cobwebs. Be careful not to apply too much pressure, as this can cause the bristles to scratch the paint.
Once you have removed the loose debris, it’s time to mix your cleaning solution. If you’re using a mild detergent, follow the instructions on the packaging to dilute it in a bucket of warm water. If you prefer a homemade wall cleaner, I will share some effective recipes later in this guide. Once your cleaning solution is ready, dip a microfiber cloth or sponge into the mixture and wring out any excess liquid. You want the cloth or sponge to be damp, not soaking wet.
Homemade wall cleaner recipes
If you prefer to use natural ingredients for cleaning your painted walls, here are a few homemade wall cleaner recipes that are both effective and safe:
- Vinegar and water solution: Mix equal parts of distilled white vinegar and warm water in a spray bottle. Spray the solution onto a microfiber cloth or sponge and gently wipe the walls in a circular motion. Vinegar is a natural disinfectant and can help remove grease and grime from painted surfaces.
- Baking soda paste: Create a paste by mixing baking soda with a small amount of water. Apply the paste to a microfiber cloth or sponge and gently scrub the walls in a circular motion. Baking soda is mildly abrasive and can help remove stubborn stains without damaging the paint.
- Lemon juice and water solution: Mix the juice of one lemon with two cups of warm water. Dip a microfiber cloth or sponge into the solution and gently wipe the walls. Lemon juice has natural bleaching properties and can help brighten the paint.
Remember to test any homemade cleaner on a small, inconspicuous area of the wall before using it on the entire surface. This will ensure that the cleaner does not cause any discoloration or damage.
Step-by-step guide on how to clean painted walls
Now that you have gathered the necessary tools and prepared your walls, it’s time to start the cleaning process. Follow these step-by-step instructions to clean your painted walls effectively:
- Start from the top: Begin cleaning the walls from the top and work your way down. This will prevent any dirty water or cleaning solution from dripping onto already cleaned areas.
- Dampen the cloth or sponge: Dip your microfiber cloth or sponge into the cleaning solution, making sure it’s damp but not dripping wet.
- Wipe the walls gently: Using a circular motion, gently wipe the walls from top to bottom. Be careful not to apply too much pressure, as this can damage the paint. If you encounter any stubborn stains or marks, apply a bit more pressure and scrub gently.
- Rinse the cloth or sponge: Rinse your cloth or sponge in the bucket of warm water frequently to remove any dirt or residue. This will prevent you from spreading dirt onto clean areas.
- Dry the walls: Once you have cleaned the entire surface, use a clean microfiber cloth or towel to dry the walls. This will help prevent streaks and water spots.
Tips for removing tough stains and marks
While regular cleaning should take care of most dirt and grime on your painted walls, there may be some stubborn stains or marks that require extra attention. Here are a few tips to help you remove tough stains effectively:
- Pencil or crayon marks: Use a soft eraser or a clean cloth dipped in soapy water to gently rub the marks. Avoid using abrasive cleaners, as they can damage the paint.
- Grease or oil stains: Sprinkle a small amount of baking soda onto a damp cloth and gently rub the stains. Let it sit for a few minutes, then wipe clean with a damp cloth.
- Water stains: Mix equal parts of vinegar and water in a spray bottle. Spray the solution onto the stains and let it sit for a few minutes. Gently scrub the stains with a soft cloth or sponge, then rinse with clean water.
Remember to always test any stain removal method on a small, inconspicuous area of the wall before using it on the entire surface. This will ensure that the method does not cause any damage or discoloration.
No-rinse wall washing solution: pros and cons
If you’re looking for a convenient and time-saving alternative to traditional wall cleaning methods, a no-rinse wall washing solution may be the answer. These solutions are designed to clean and refresh painted walls without the need for rinsing. Here are the pros and cons of using a no-rinse wall washing solution:
Pros:
- Saves time and effort: With a no-rinse solution, you can simply spray and wipe, without the need for rinsing or drying.
- Leaves no residue: No-rinse solutions are formulated to evaporate quickly, leaving behind a clean and residue-free surface.
- Convenient for large areas: If you have a large wall or multiple walls to clean, a no-rinse solution can be a time-efficient option.
Cons:
- May not be suitable for heavily soiled walls: No-rinse solutions are best suited for regular maintenance cleaning. If your walls are heavily soiled or have stubborn stains, traditional cleaning methods may be more effective.
- Limited stain removal capabilities: While no-rinse solutions can remove light dirt and marks, they may not be as effective in removing tough stains or grease.
Before using a no-rinse wall washing solution, it’s important to read and follow the manufacturer’s instructions carefully. Test the solution on a small, inconspicuous area of the wall to ensure compatibility with your paint.
How to maintain and protect freshly cleaned painted walls
Once you have completed the cleaning process and your painted walls are looking fresh and spotless, it’s important to take steps to maintain their cleanliness and protect them from future damage. Here are a few tips to help you maintain and protect freshly cleaned painted walls:
- Avoid touching the walls: Encourage family members and guests to avoid touching the walls, especially with dirty or greasy hands. Regularly remind everyone to be mindful of the walls to prevent the accumulation of fingerprints and smudges.
- Use doormats and rugs: Place doormats at the entrances of your home to trap dirt and debris before it reaches the walls. Additionally, use rugs or runners in high-traffic areas to minimize wear and tear on the paint.
- Spot clean when necessary: If you notice any new stains or marks on your walls, address them promptly. Use a mild cleaner and a clean cloth to spot clean the affected area. This will prevent the need for a full-scale wall cleaning in the future.
- Avoid excessive moisture: Excessive moisture can cause paint to peel or bubble. Avoid hanging wet clothes or placing humidifiers near painted walls. Ensure proper ventilation in areas prone to moisture, such as bathrooms and kitchens.
- Schedule regular cleaning: Set a cleaning schedule to ensure that your painted walls receive regular maintenance. Depending on the level of traffic and the environment, a thorough cleaning every six months to a year is recommended.
By following these maintenance tips, you can keep your freshly cleaned painted walls looking pristine for years to come.
Professional wall cleaning services
While cleaning your painted walls yourself can be a rewarding task, there may be instances where professional help is required. Professional wall cleaning services have the knowledge, expertise, and specialized equipment to tackle even the toughest wall cleaning challenges. Here are a few situations where hiring a professional may be beneficial:
- Extensive staining or damage: If your walls have extensive staining, discoloration, or damage that you’re unable to remove or repair, a professional cleaning service can assess the situation and provide appropriate solutions.
- High ceilings or hard-to-reach areas: Cleaning walls with high ceilings or hard-to-reach areas can be challenging and potentially dangerous. Professional cleaners have the necessary tools and equipment to safely access and clean these areas.
- Time constraints: If you have a busy schedule or limited time available, hiring a professional wall cleaning service can save you valuable time and effort.
When choosing a professional wall cleaning service, be sure to research and read reviews to ensure they have a good reputation and experience in handling painted surfaces. It’s also a good idea to request a quote and compare prices before making a decision.
Conclusion
Cleaning painted walls may seem like a daunting task, but with the right tools, techniques, and knowledge, you can achieve professional-quality results. Regular cleaning not only enhances the appearance of your home but also helps to maintain the longevity of your painted walls. Remember to gather the necessary tools and supplies, prepare your walls properly, and follow the step-by-step guide provided in this ultimate guide. Whether you choose to use homemade wall cleaners, traditional methods, or a no-rinse solution, always prioritize the safety and protection of your painted walls. By incorporating regular wall cleaning into your maintenance routine, you can enjoy a fresh and inviting living space for years to come.
Take pride in your home and give your painted walls the care they deserve. Follow this ultimate guide to clean your painted walls like a pro!